
Looking for a pumpkin that feels more creative than the usual triangle-eyed jack-o’-lantern? Ghost pumpkins are an easy way to give your Halloween porch a fun, spooky personality without needing advanced carving skills.
From sweet little ghost faces to eerie floating spirits, there are plenty of ways to turn an ordinary pumpkin into a memorable Halloween decoration. You can keep the carving beginner-friendly with large, simple shapes or create a more detailed scene using a printable stencil as your guide.
These ghost pumpkin carving ideas mix cute, spooky, elegant, and creative styles, so there is something for almost every Halloween setup. Whether you are carving with kids, decorating your front porch, or looking for a Pinterest-worthy pumpkin display, these ideas are a great place to start.
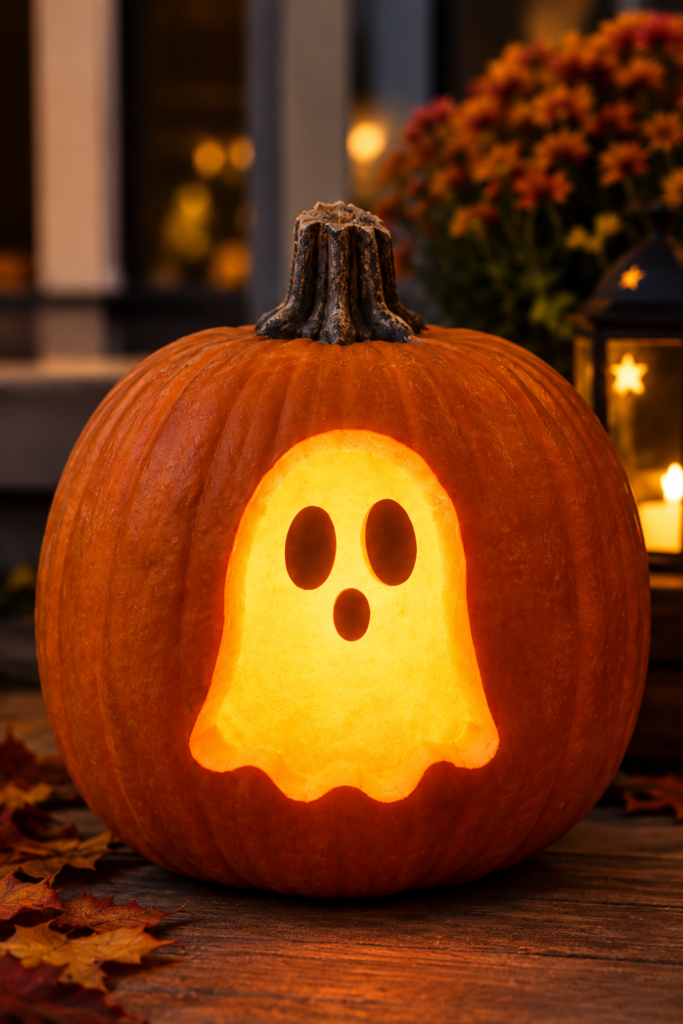
1. Classic Friendly Ghost Pumpkin
Start with the easiest design: a simple ghost with two large oval eyes and a small open mouth.
Choose a medium-sized pumpkin with a relatively smooth front surface. Sketch or transfer a basic ghost shape, then carefully carve around the outline. Keep the openings large enough for the candle or LED light inside to shine clearly.
For a softer look, use a white pumpkin and let the carved openings glow warmly at night. An orange pumpkin creates a more traditional Halloween appearance.
This is one of the best easy ghost pumpkin carving ideas for beginners because the shapes are simple and easy to recognize.
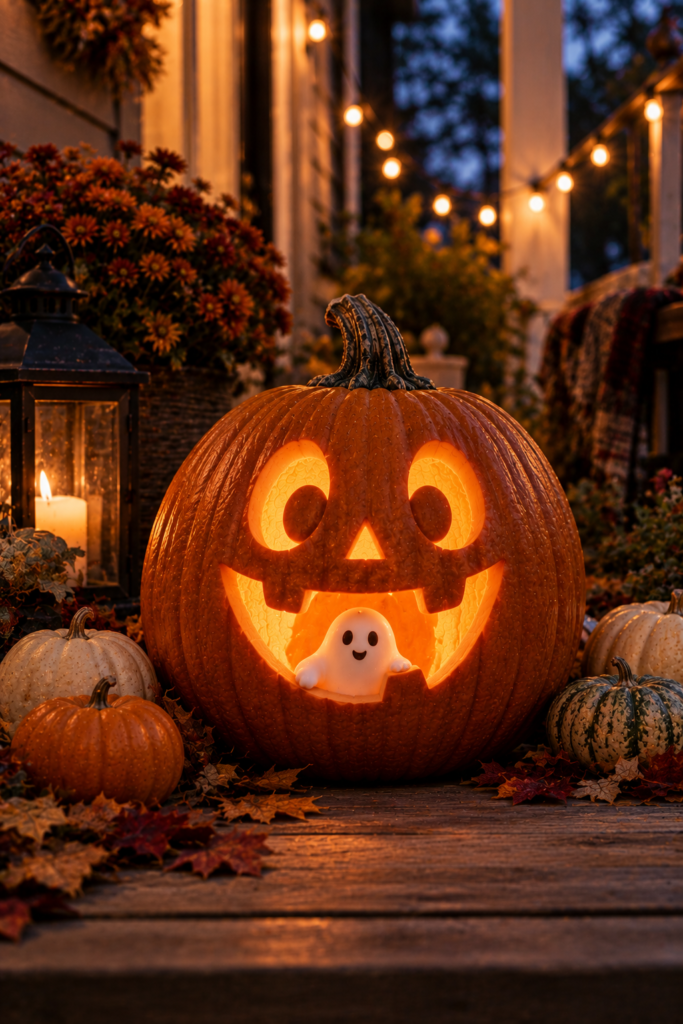
2. Peek-a-Boo Ghost Pumpkin
Make your ghost look as though it is hiding behind the pumpkin by carving only the upper portion of its face and two little hands.
The peek-a-boo effect is especially cute when the pumpkin is displayed among taller pumpkins or seasonal foliage. You can make the ghost’s eyes round and playful or slightly uneven for a more handmade appearance.
For an extra glow, place a small LED candle behind the carved openings. The light will make the ghost face stand out beautifully after dark.
This design works particularly well for family-friendly Halloween decorating.
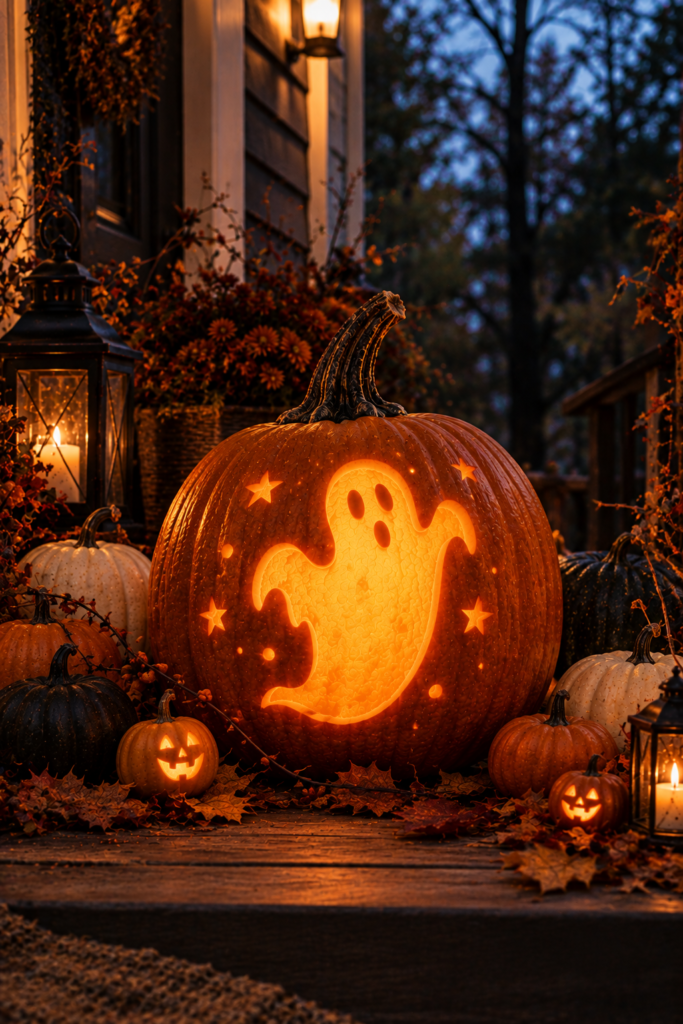
3. Floating Ghost With Flowing Edges
For something more dramatic, carve a ghost with a long, wavy lower body that appears to float across the pumpkin.
Instead of giving the bottom of the ghost a straight edge, use sweeping curves and pointed sections to create the illusion of movement. Large hollow areas can allow more light through and make the ghost appear brighter.
A dark outdoor background makes this spooky pumpkin carving idea especially effective at night. Place the pumpkin slightly above eye level or on a tall planter for an even stronger floating effect.
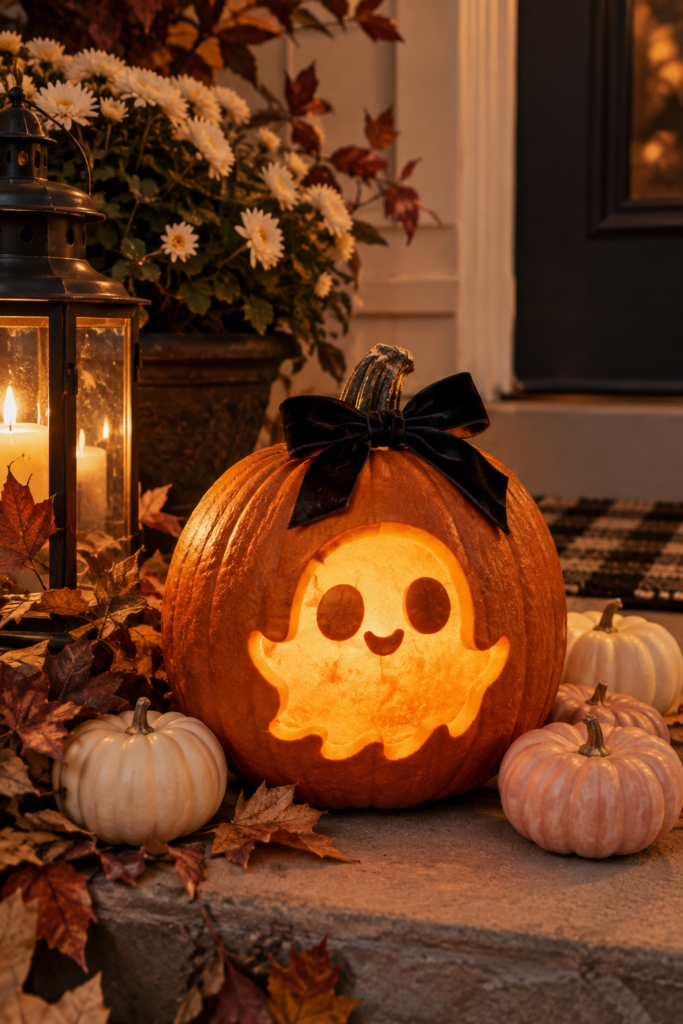
4. Cute Ghost With a Bow
Give a simple ghost pumpkin a playful makeover with a tiny bow and cheerful face.
Carve a rounded ghost with large eyes and a small smiling mouth, then attach a ribbon or fabric bow near the stem. Black, burgundy, cream, or orange ribbon can all work depending on your decorating style.
You can also place a few mini pumpkins around the main pumpkin and add a small lantern nearby. The finished look feels festive and adorable rather than frightening.
This is a great option when you are searching for cute ghost pumpkin ideas that fit a softer Halloween aesthetic.
.
5. Scary Hollow-Eyed Ghost
Ready for something creepier? Give your ghost deep-set eyes and a wide unsettling mouth.
Instead of making the face cute and rounded, use irregular shapes and narrow openings. A few small cuts around the eyes can create a cracked or weathered appearance, making the pumpkin look much more sinister when illuminated.
Place this pumpkin in a darker part of your porch or garden rather than beside bright decorations. The contrast will make the face appear even more dramatic.
This is a strong choice for anyone searching for scary ghost pumpkins or more traditional spooky Halloween decorations.
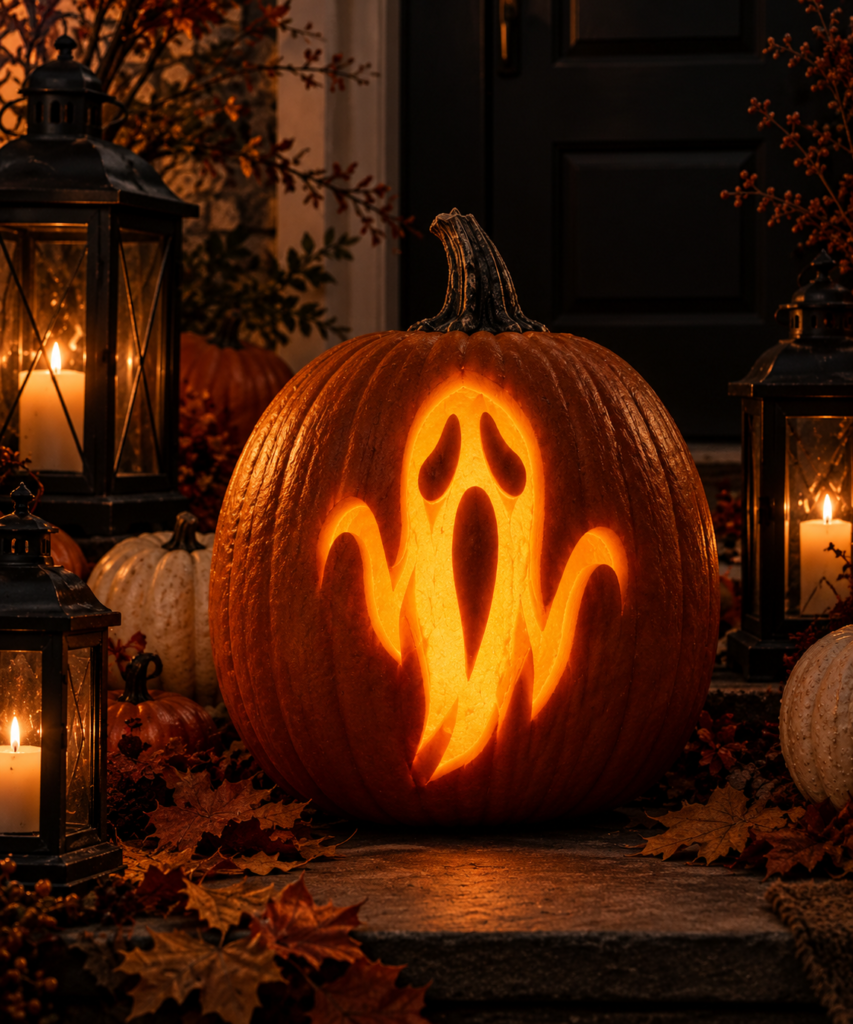
6. Ghost and Moon Pumpkin Scene
Turn your pumpkin into a tiny Halloween night scene by combining a ghost with a crescent moon and stars.
Carve a simple ghost silhouette on one side and surround it with small stars or a crescent moon. Leave enough space between the shapes so the pumpkin does not become structurally weak.
When the pumpkin is illuminated, the smaller openings create little points of light around the main ghost. Use an LED candle with a warm glow to bring out the details.
This idea is especially beautiful for an evening porch display and makes a great Halloween pumpkin carving centerpiece.
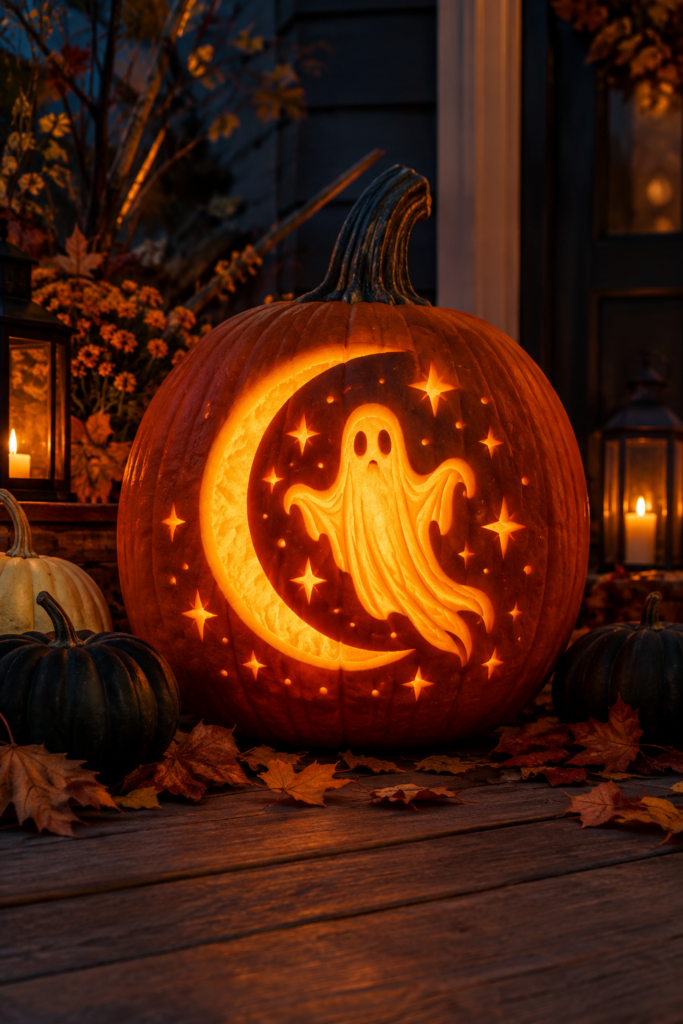
7. Tiny Ghost Family Pumpkin
Create a playful scene by carving several tiny ghost faces across one large pumpkin. Instead of one oversized design, use three or four simple faces with different expressions.
You can give one ghost a surprised expression, another a tiny smile, and another a slightly spooky look. This makes the pumpkin feel like a little ghost family and is perfect for a family Halloween display.
Keep the faces relatively close together and use simple shapes so the design remains easy to carve.
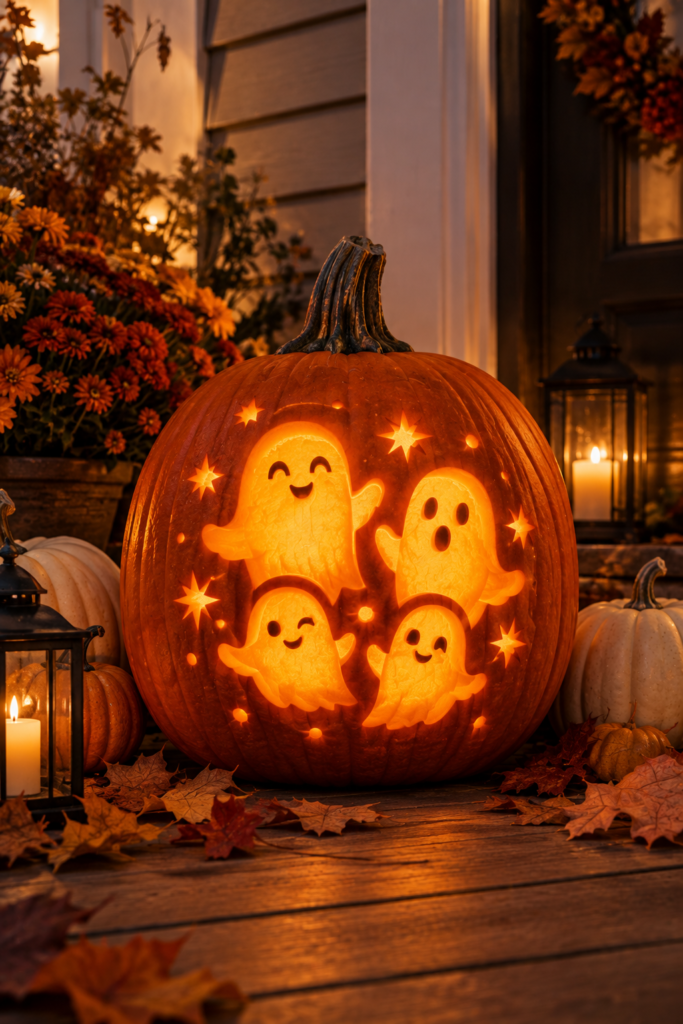
8. Ghost With a Witch Hat
Add a little personality to your ghost by giving it a tiny witch hat.
Carve a friendly ghost face into the pumpkin, then place a miniature black witch hat over the stem. A black ribbon around the base of the hat can make the design look even more finished.
For a coordinated display, add a few black cats, dark leaves, or miniature pumpkins around the carved pumpkin. The combination creates a cute witchy Halloween corner.
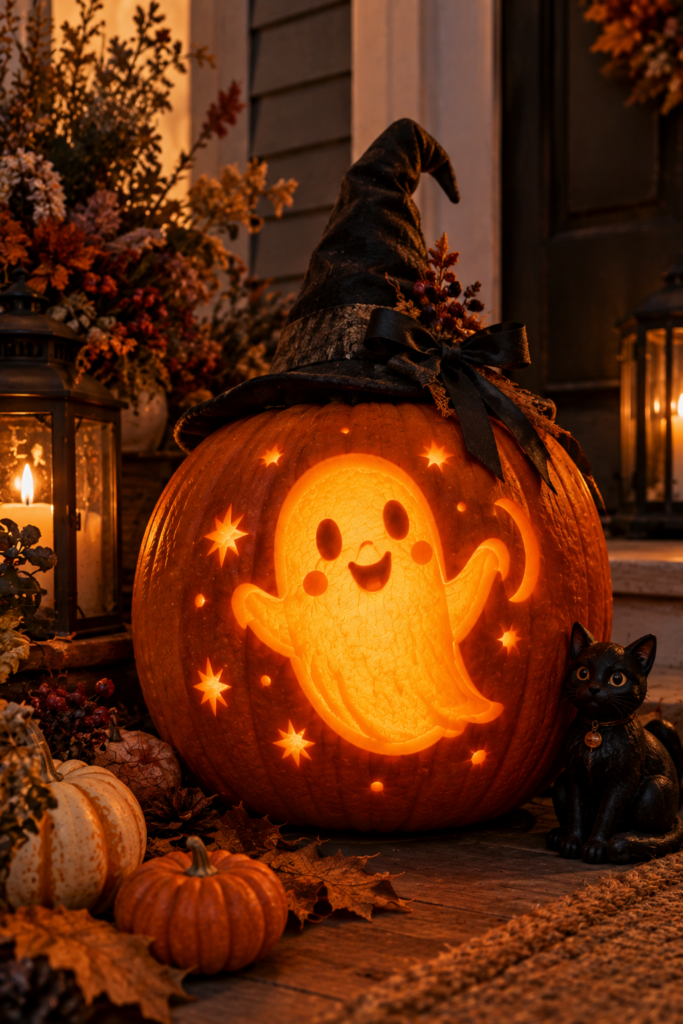
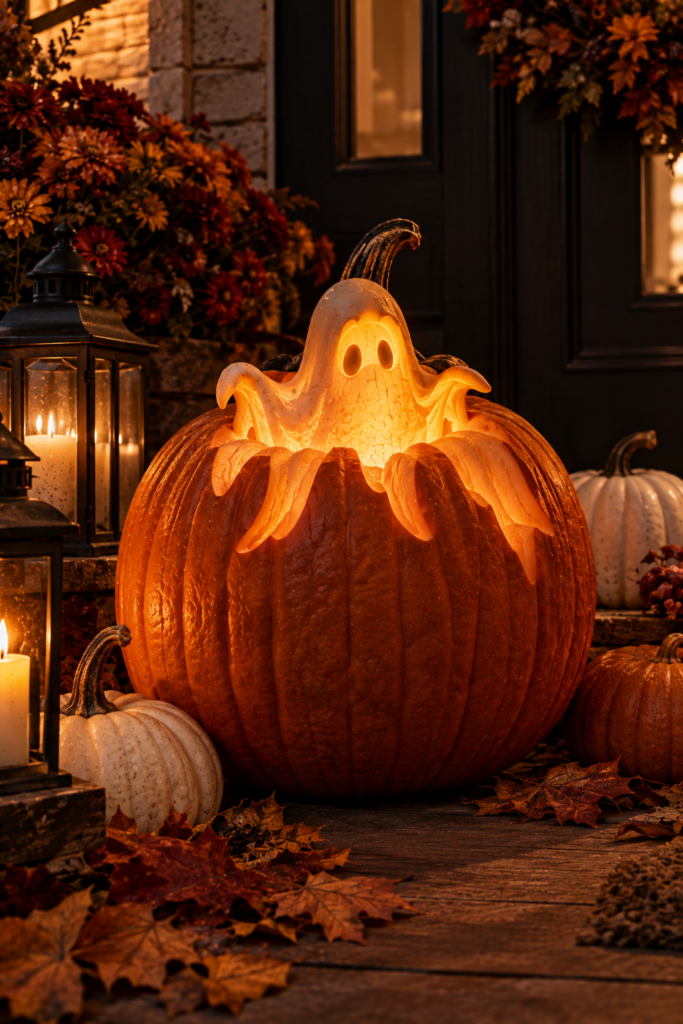
9. Ghost Emerging From a Pumpkin
Create the illusion of a little ghost rising out of the pumpkin by carving the ghost’s upper body around the top section.
Use curved lines to suggest a flowing ghost shape and leave the lower part of the pumpkin mostly intact. A small glowing opening inside the ghost makes the figure appear more dimensional at night.
This design looks especially effective when placed among several plain pumpkins because it immediately becomes the focal point.
10. Minimal Ghost Face Pumpkin
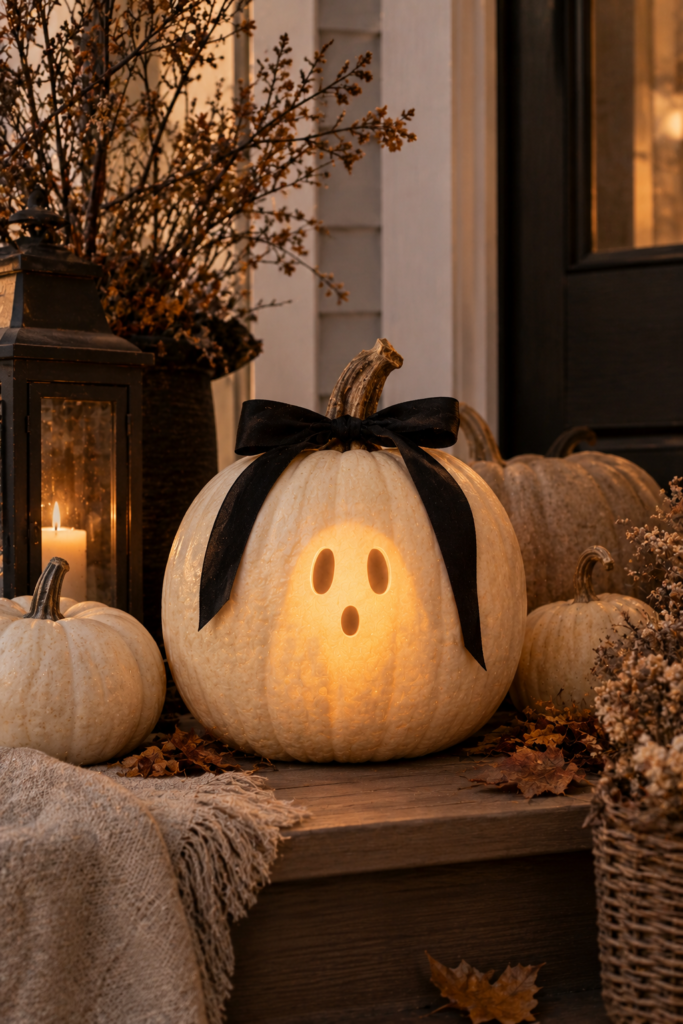
Sometimes the simplest carving is the most stylish. Instead of a detailed ghost, create a minimalist face using two small oval eyes and one tiny mouth.
Choose a white, cream, or pale green pumpkin for a modern neutral look. Add one black ribbon or a few dried branches nearby to make the display feel intentionally styled.
This idea is ideal if you like simple ghost Halloween decor or prefer a more minimalist autumn aesthetic.
11. Ghost Graveyard Pumpkin
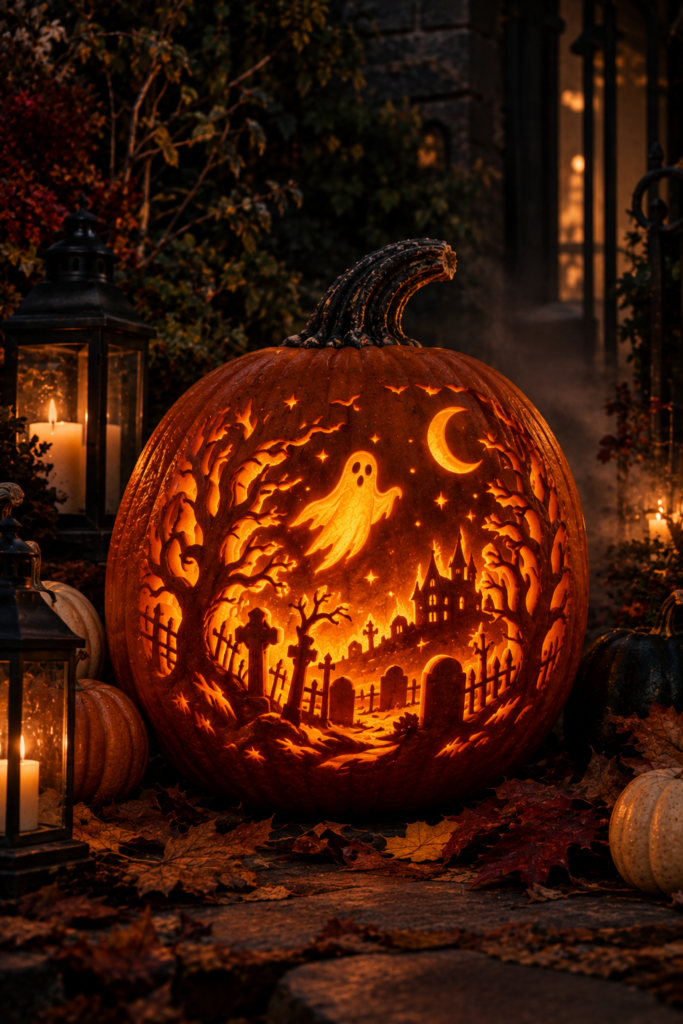
Take your carving one step further by creating a miniature haunted graveyard scene.
Use a ghost silhouette, tiny gravestones, crooked trees, and a crescent moon across the pumpkin’s surface. You do not have to carve every detail deeply; some shallow cuts can add texture without allowing too much light through.
The finished pumpkin looks particularly impressive when placed in a dark yard or beside a few lanterns.
12. Ghost Pumpkin With a Spooky Message
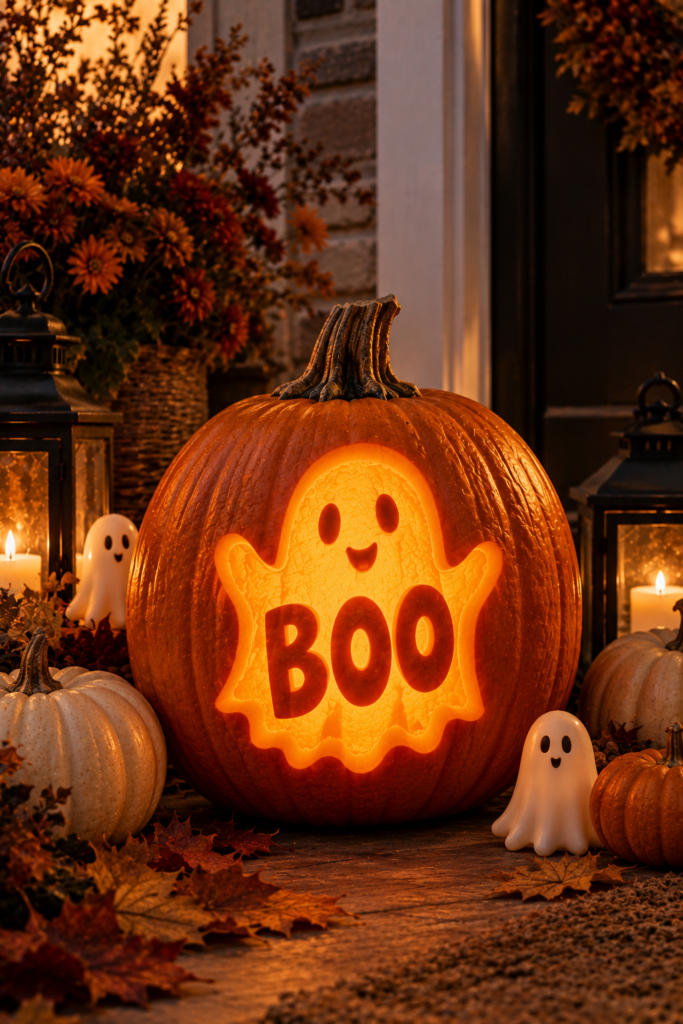
Give your pumpkin a personalized touch by combining a simple ghost face with a short Halloween word or phrase.
You might use something like “Boo,” “Eek,” or “Spooky.” Choose large letters that are easy to transfer and carve, especially if this is your first time working with lettering.
Pair the finished pumpkin with a few small ghost figures or mini pumpkins to create a coordinated display. A warm LED light inside will make the carved message glow after dark.
Step-by-Step Guide to Carving a Ghost Pumpkin
Once you have chosen your favorite design, the carving process is easier when you break it into a few simple stages.
Step 1: Choose the Right Pumpkin
Look for a pumpkin with firm skin, a sturdy stem, and a relatively smooth surface. A broad front area makes it easier to transfer a ghost stencil and gives you more room for the design.
Step 2: Gather Your Supplies
You will need a pumpkin, a pumpkin carving tool or small serrated knife, a spoon or scoop, a marker or pencil, paper for your stencil, and a battery-powered LED light.
For detailed designs, small carving tools can make it easier to handle curves and tiny features.
Step 3: Empty the Pumpkin
Cut an opening either from the top or bottom and remove the seeds and stringy interior. Scrape the inside until the pumpkin wall is reasonably clean.
A thinner, even interior surface can make it easier for light to shine through the carved sections.
Step 4: Transfer Your Ghost Stencil
Place your stencil against the pumpkin and secure it with tape. Transfer the design by tracing the outline or carefully poking small holes along the stencil lines.
Remove the stencil before making the final cuts.
Step 5: Start With the Largest Shapes
Carve the main outline first, then work your way toward the smaller details. This makes it easier to maintain the pumpkin’s structure and reduces the chance of accidentally breaking a delicate section.
Step 6: Add the Face and Details
Once the main ghost shape is finished, carefully carve the eyes, mouth, stars, moon, or other decorative details.
Take your time around small corners and curves.
Step 7: Add the Light
Place a battery-powered LED tea light inside the pumpkin and test the glow before putting it on display.
LED lights are especially convenient because they produce a warm glow without placing an open flame directly next to the pumpkin.
How to Use a Free Ghost Pumpkin Stencil
A stencil can make complicated-looking designs much easier, especially when you are new to carving.
Choose a printable ghost template that matches your skill level. Simple silhouettes are best for beginners, while detailed haunted scenes require more patience and careful cutting.
Print the stencil at the right size for your pumpkin. The design should fit comfortably on the flattest part of the surface without wrapping too far around the sides.
Secure the paper firmly before transferring the design. Once the outline has been transferred, remove the paper and use your carving tool to follow the marked lines.
For the best results, avoid extremely thin strips between carved areas. Wider sections are stronger and less likely to break during carving or handling.
Tips for Better Ghost Pumpkin Carving
Choose simple shapes when you are carving your first pumpkin. A recognizable ghost can look fantastic even when it uses only a few large openings.
Keep your carving tools sharp and work slowly around curves. Rushing detailed areas is one of the easiest ways to accidentally cut beyond your design.
Do not carve directly toward your hand. Always keep your supporting hand away from the path of the blade and use controlled movements.
If a small piece accidentally breaks, do not throw the pumpkin away. Sometimes a small repair using a toothpick or repositioning the surrounding design can save the project.
For a brighter display, use an LED light with a warm color temperature. A flickering LED candle can also make the ghost appear to move when viewed from a distance.
How to Display Ghost Pumpkins
Your finished pumpkin can become a focal point almost anywhere.
Place a single carved ghost pumpkin beside your front door for a simple seasonal statement. For a larger display, arrange several pumpkins of different sizes together and mix carved ghosts with plain pumpkins.
For a cozy indoor look, place a small ghost pumpkin on a tray with candles, dried leaves, and miniature pumpkins. Outdoors, combine carved pumpkins with lanterns, hay bales, mums, or autumn branches.
You can also create a themed ghost display by repeating the same colors throughout the area. White pumpkins, black accents, warm orange lights, and natural wood create an especially stylish Halloween combination.
Pumpkin Carving Safety Tips
Always use proper pumpkin carving tools and work on a stable surface.
Children should be supervised closely and should not handle sharp carving knives. For younger kids, consider using washable markers, stickers, paint, or adult-assisted carving instead.
Avoid using real candles around fabric, dried foliage, or other flammable decorations. Battery-powered LED lights are a safer alternative and work especially well inside pumpkins.
When displaying pumpkins outdoors, protect electrical components from moisture and follow the manufacturer’s instructions for outdoor use.
Final Thoughts
Ghosts are one of the most versatile Halloween themes because you can make them cute, spooky, elegant, or downright eerie. A simple friendly face can be perfect for a family porch, while a haunted graveyard scene can create a much darker nighttime display.
These 12 easy ghost pumpkin carving ideas give you plenty of options, whether you want a beginner-friendly project, a cute pumpkin for the kids, or a more detailed centerpiece for your Halloween decorations.
Choose a stencil that matches your carving experience, take your time with the details, and finish your pumpkin with a warm glow. With a little creativity, even a simple pumpkin can become a memorable ghostly Halloween decoration.
FAQs
What is the easiest ghost pumpkin carving idea?
A simple ghost face with two large eyes and a small mouth is one of the easiest designs for beginners. Large, uncomplicated shapes are easier to transfer and carve.
Where can I find a free ghost pumpkin stencil?
Free printable ghost templates can be found on many Halloween craft and pumpkin-carving websites. Choose a stencil with clear, simple shapes if you are new to carving.
How do you carve a ghost into a pumpkin?
Start by cleaning the pumpkin and transferring your ghost stencil onto the surface. Carve the main outline first, followed by the eyes, mouth, and smaller details. Finish by adding an LED light inside.
What pumpkins are best for carving?
Look for a firm pumpkin with a sturdy stem and a smooth, broad surface. A flatter front makes transferring and carving a stencil much easier.
Can kids make ghost pumpkin carvings?
Yes, but young children should not use sharp carving tools without close adult supervision. Kids can help with choosing the design, cleaning seeds, transferring a stencil, and decorating the finished pumpkin.
How long does a carved pumpkin usually last?
A carved pumpkin generally lasts longer when kept cool and protected from excessive moisture and heat. Keeping it indoors or in a sheltered outdoor location can help extend its display life.
Are LED lights better than candles for carved pumpkins?
LED lights are a convenient alternative because they provide illumination without an open flame. Warm or flickering LED lights can create a particularly attractive glow inside ghost pumpkins.





3 Comments