Halloween decorating feels especially charming in the kitchen, where a few seasonal details can make everyday coffee, baking, and family meals feel more festive. The trick is to bring in the spooky atmosphere without covering every counter or getting in the way of cooking. With thoughtful Halloween kitchen decor, you can turn open shelves, a coffee station, a breakfast nook, and even a plain backsplash into playful seasonal features.
These 14 ideas blend warm autumn colors, ghostly accents, subtle witchy details, and practical decorations that work in large kitchens and small apartments alike.
1. Hang a Floating Moon-and-Bat Display Above the Kitchen Island
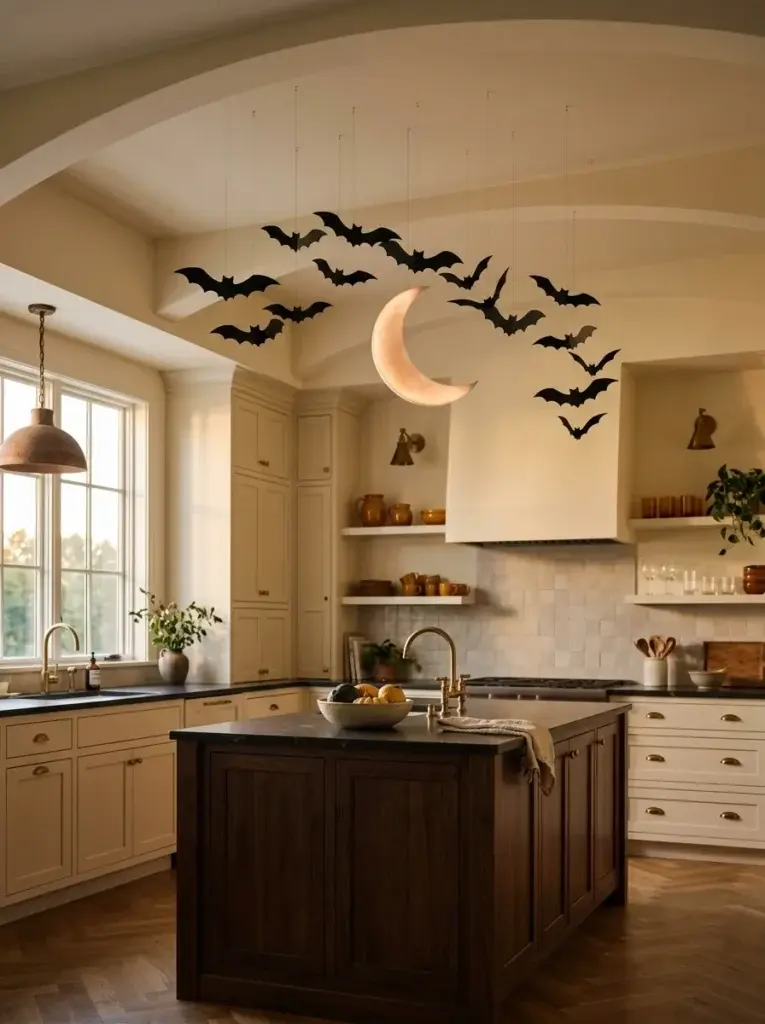
An overhead Halloween display adds drama without using valuable counter space. Imagine a pale crescent moon suspended above the kitchen island, surrounded by black bats that appear to flutter across the ceiling. The contrast between cream, charcoal, and a little warm amber feels seasonal without overwhelming a modern kitchen. Varying the heights creates movement, while the moon gives the arrangement a clear focal point.
This look works particularly well above an island where family members gather, although a smaller version can also decorate a breakfast bar or an unused section of ceiling.
To recreate the display, use lightweight paper or felt shapes and secure them with suitable removable hooks or an appropriate hanging system for your ceiling. Arrange the moon slightly off-center, then position the bats in a loose curve instead of a rigid line. Keep the decorations high enough to stay clear of people’s heads, cabinet doors, and pendant lights.
Renters can make a smaller version using an approved tension rod between cabinets, where suitable. Avoid placing hanging paper near heat sources, and leave walkways unobstructed.
2. Style Open Shelves With Cream Pumpkins and Amber Glass
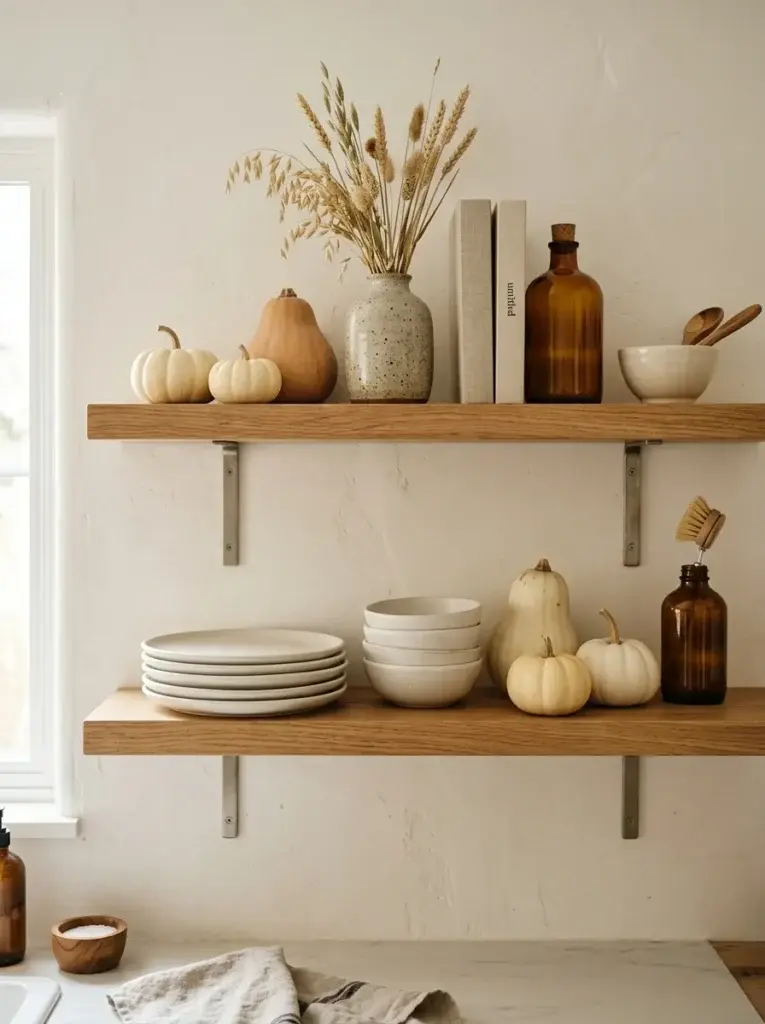
Neutral Halloween kitchen shelf decor is a lovely option if your home already features natural wood, white cabinetry, or a soft farmhouse palette. Cream pumpkins, muted orange gourds, amber glass bottles, and vintage-inspired cookbooks add an autumn feeling without relying on bright novelty decorations. A few dark accents, such as a charcoal bowl or black ceramic vase, introduce contrast.
The result feels collected and welcoming rather than overly themed, making it suitable for people who prefer understated seasonal styling. It also allows ordinary kitchenware to remain part of the overall display.
Begin with the items already on your shelves, keeping everyday plates, glasses, and bowls easy to reach. Place a small pumpkin beside a stack of cookbooks, then group two amber glass pieces nearby to establish a consistent palette. Leave some empty space around each arrangement so the shelf remains visually calm.
Choose artificial pumpkins if you want decorations that can be stored and reused, or use real miniature pumpkins for a natural look. On narrow shelves, limit the display to two or three accents rather than filling every available gap.
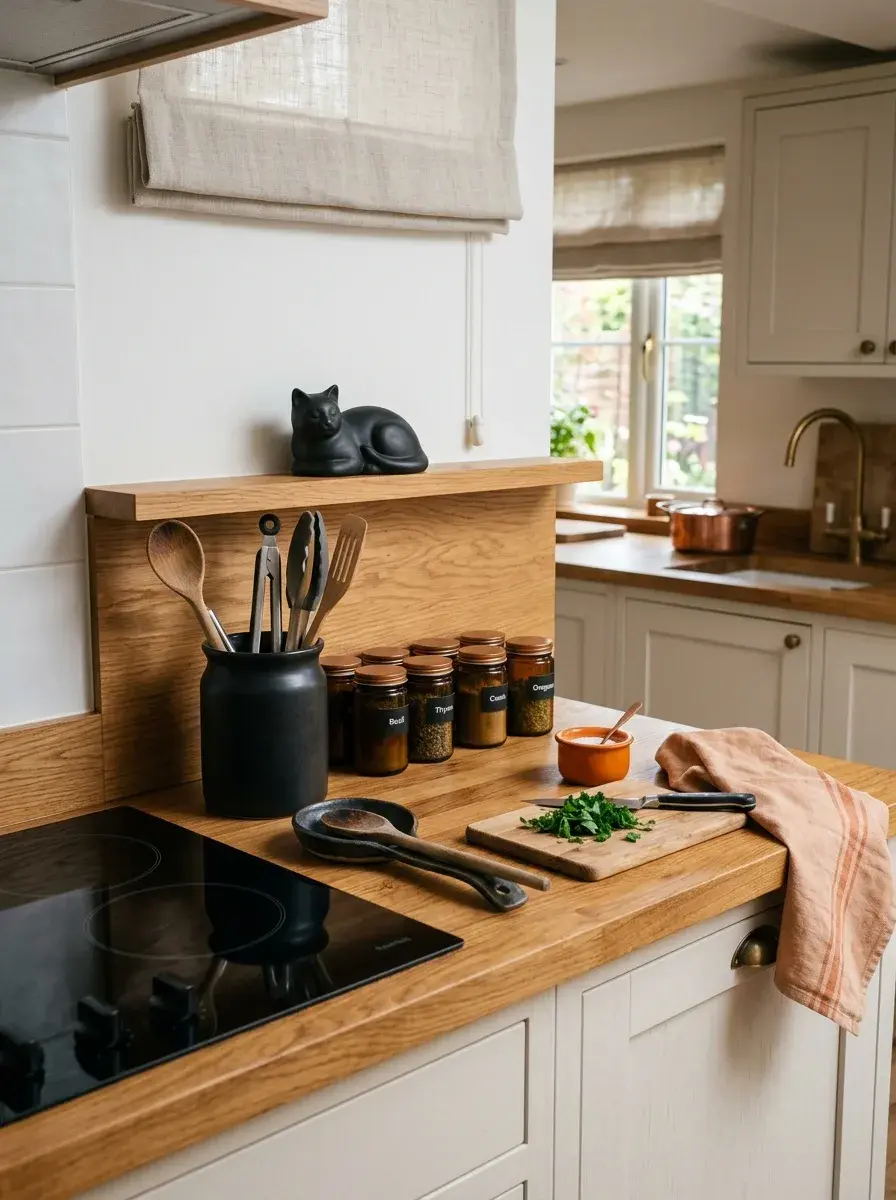
3. Create a Witchy but Useful Cooking Zone
A cooking area can feel appropriately spooky without turning into a theatrical haunted house. A dark utensil crock, a charcoal spoon rest, and coordinated spice containers provide a subtle witchy look while serving everyday purposes. Add a small black cat figurine or a pumpkin-shaped ceramic accessory at the edge of the station for a little personality. Matte black, warm wood, and muted orange work well together, particularly against white or cream cabinetry.
This approach is ideal for anyone who wants Halloween decor that feels connected to the kitchen rather than like a collection of unrelated ornaments.
Start by organizing the utensils you actually use, then choose one or two seasonal pieces to complement them. Place the crock where it is convenient but safely away from burners, and keep frequently used spices accessible without crowding the preparation surface. A decorative spoon rest should be suitable for its intended use and kept clean.
Avoid placing paper garlands, fabric decorations, or plastic figurines beside hot appliances. In a small kitchen, swap existing accessories for seasonal versions instead of adding more objects. You will get the festive effect while preserving space for chopping, mixing, and serving.
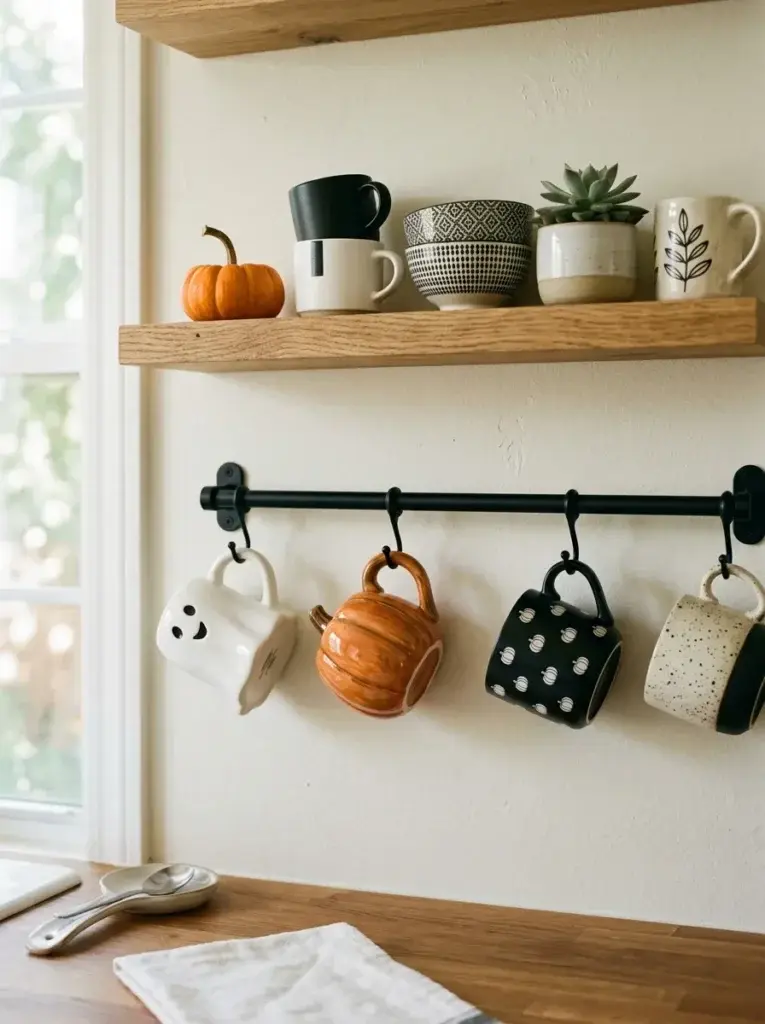
4. Turn a Small Mug Shelf Into a Haunted Café Display
A little mug shelf can become a charming Halloween coffee corner with just a few coordinated cups. White ghost mugs, pumpkin-shaped cups, black cat designs, and simple monochrome ceramics bring a playful touch without taking up much room.
Repeating two or three designs makes the arrangement feel deliberate, while pale ceramics keep the display from looking too dark. A small framed seasonal print or one miniature pumpkin can finish the scene. This idea suits a kitchen with open shelving, but it can also work on a compact wall rack or a dedicated section of a cupboard.
Arrange the mugs by color or shape, leaving enough space to lift each one down comfortably. Put your most frequently used cups at the front or on the lowest shelf, and reserve higher spots for occasional pieces. If shelf space is limited, hang a few mugs from a suitable mug rail and keep the remaining cups in a cabinet.
Choose designs that coordinate with your existing kitchenware so they remain useful after Halloween. Avoid adding loose plastic spiders or other tiny decorations where they could fall into cups or interfere with washing and storage.
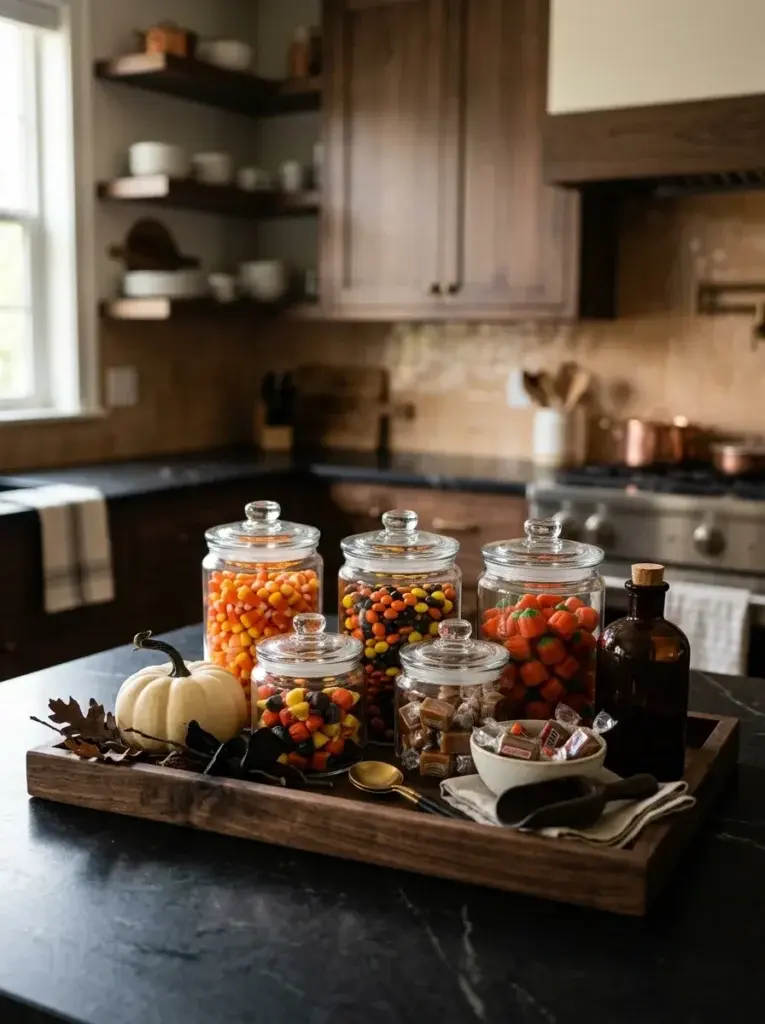
5. Set Up an Apothecary-Inspired Halloween Treat Station
Glass containers and dark serving pieces can give a kitchen counter the atmosphere of an old-fashioned apothecary shop. Picture a black tray holding clear, lidded jars filled with orange sweets, chocolate treats, and individually wrapped candies. Amber glass bottles placed behind the jars add vintage character, while a small decorative pumpkin softens the arrangement.
You can make the display colorful and playful or keep it restrained with black, cream, and amber. Either approach creates a festive focal point for family gatherings, Halloween movie nights, or an evening when visitors stop by for a treat.
Choose containers intended for food storage, and keep the treats covered when they are not being served. Position the tray somewhere accessible but away from the sink, cooking splashes, and busy preparation areas. If young children or pets are in the household, consider a stable, easy-to-monitor location and avoid fragile containers or small decorative pieces within reach.
For a budget-friendly version, reuse clean food-storage jars rather than purchasing a matching set. Individually wrapped sweets are convenient for sharing, while a small bowl of sealed treats keeps the station simple to refill and clean.
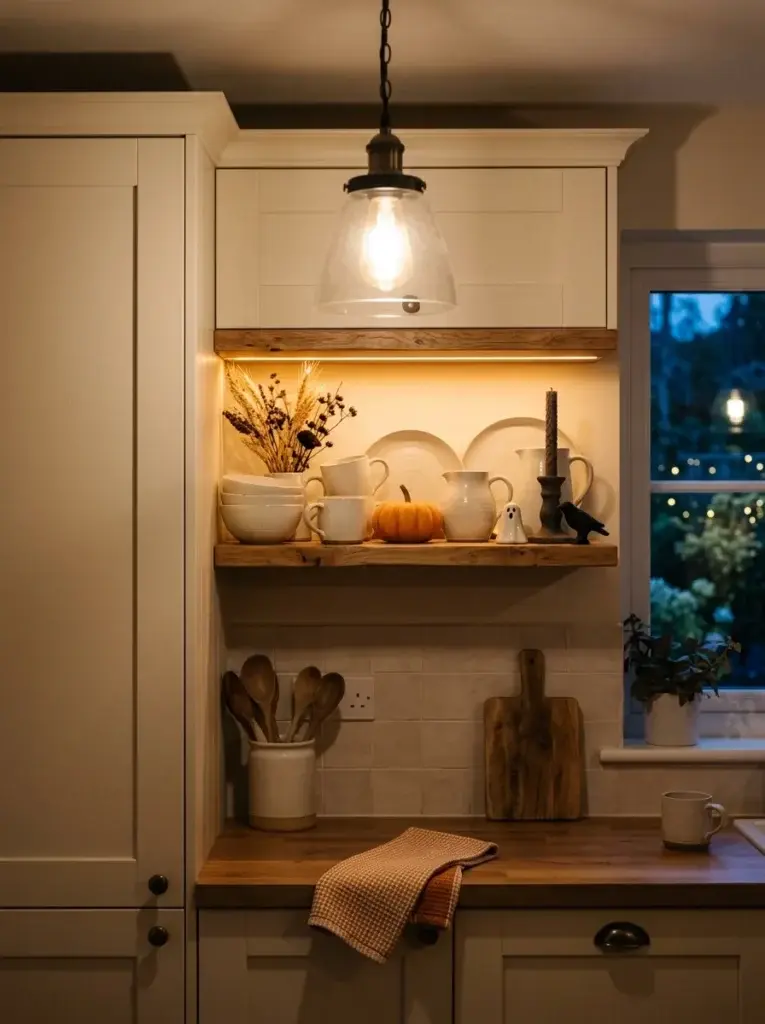
6. Create a Softly Spooky Glow Around Kitchen Lighting
The right lighting can make Halloween kitchen decor feel warm and atmospheric after sunset. Instead of adding a mass of cobwebs or covering pendant lights, use a gentle amber glow around a suitable decorative area. Battery-operated LED accents, a small illuminated pumpkin, or soft lighting beside a mug shelf can create the feeling of an autumn evening.
Charcoal details and cream ceramics look particularly inviting against warm light, while a few muted orange accents reinforce the seasonal theme. Keeping the lighting restrained also helps the kitchen feel comfortable for everyday dinners and late-night snacks.
Choose lights designed for the location where you intend to use them, following the manufacturer’s placement and operating instructions. Position battery-operated decorative lights on a dry, stable surface away from sinks, hot appliances, and food-preparation areas. Do not attach garlands, artificial cobwebs, or other combustible materials to hot fixtures, and never place open flames near seasonal decorations.
If your kitchen has pendant lighting, let the fixtures remain unobstructed and decorate a nearby shelf or sideboard instead. In a rental, small freestanding LED accents provide a flexible option that can be packed away easily after the season.
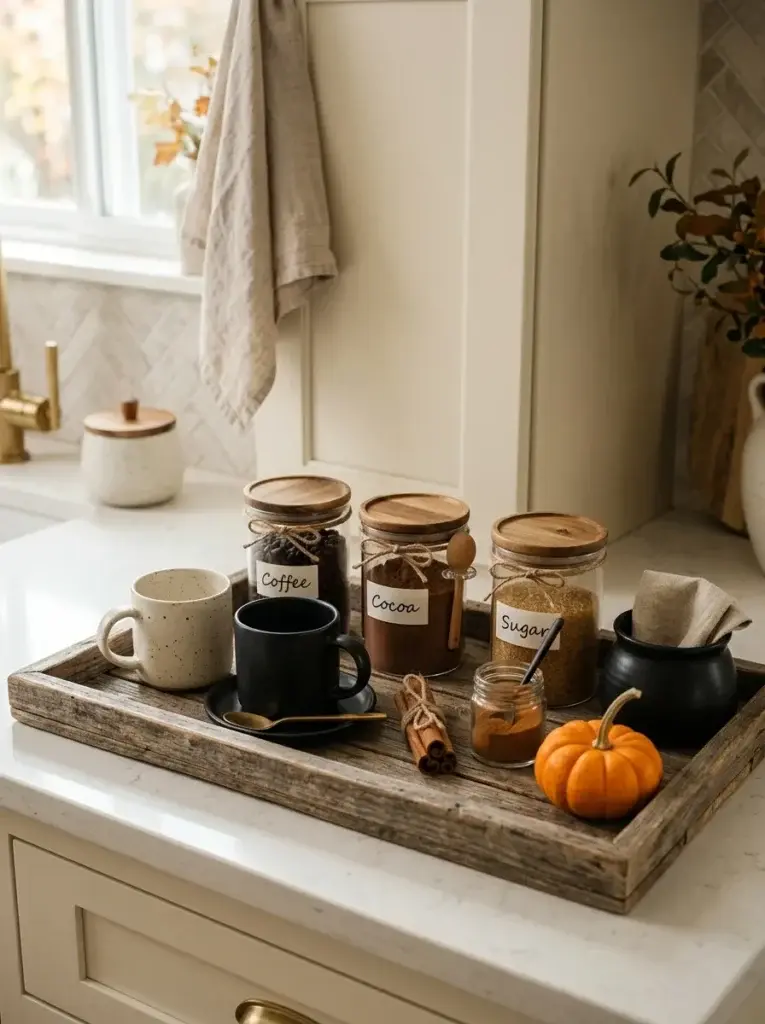
7. Build a Compact Pumpkin-Spice Coffee and Cocoa Corner
A seasonal beverage station gives Halloween decorating a practical purpose, especially for households that enjoy coffee, tea, or hot chocolate throughout autumn. A wooden tray can hold a few mugs, a jar of cocoa, coffee supplies, cinnamon, and a miniature pumpkin arrangement. Black or amber containers add a little Halloween character, while cream cups and natural wood keep the corner cozy.
The overall effect can feel like a small café tucked into your kitchen rather than a display that exists only for photographs. It is also a natural gathering point when friends or family come over.
Choose a location beside your coffee maker or kettle, leaving space for normal use and keeping supplies clear of steam and hot surfaces. Arrange the items you reach for most often toward the front of the tray, with decorations positioned to the side. Use sealed containers for dry ingredients, and keep decorative pumpkins separate from anything that needs frequent cleaning.
A small kitchen can use a narrow tray on an existing counter or a cleared shelf instead of a separate cart. For an inexpensive setup, repurpose everyday mugs and add just one seasonal container and a single pumpkin.
8. Add a Curving Trail of Removable Bats Across the Backsplash
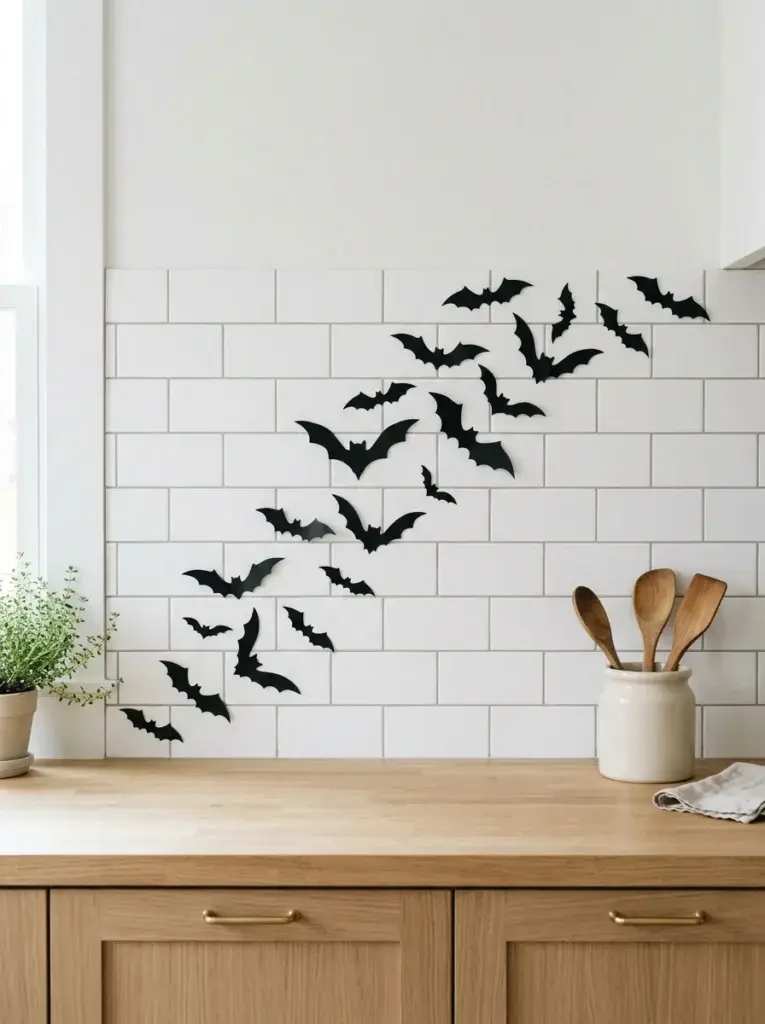
A plain backsplash offers a simple opportunity for spooky kitchen decor, particularly if you do not want additional objects on your counters. Black bat silhouettes arranged in a sweeping curve can look as though they are flying across the wall. Against white tile, the contrast feels graphic and modern; against pale green or warm cream, the effect is softer and more vintage-inspired.
A small group of bats can create a clear focal point without requiring a large collection of Halloween accessories. The design is especially useful for compact kitchens where every bit of counter space matters.
Before applying decals, check that the adhesive is suitable for the surface and test a discreet area if the material allows it. Renters should choose removable products carefully and follow the manufacturer’s instructions rather than assuming every sticker will come off cleanly.
Start with a loose cluster near one side of the backsplash, then space the bats progressively farther apart to suggest movement. Keep the design away from areas exposed to direct heat, grease splashes, or frequent scrubbing. If you prefer a low-cost alternative, use lightweight cutouts on a suitable non-porous surface where they can be secured safely and removed without damaging the finish.
9. Arrange a Halloween Tiered Tray With Contrasting Heights
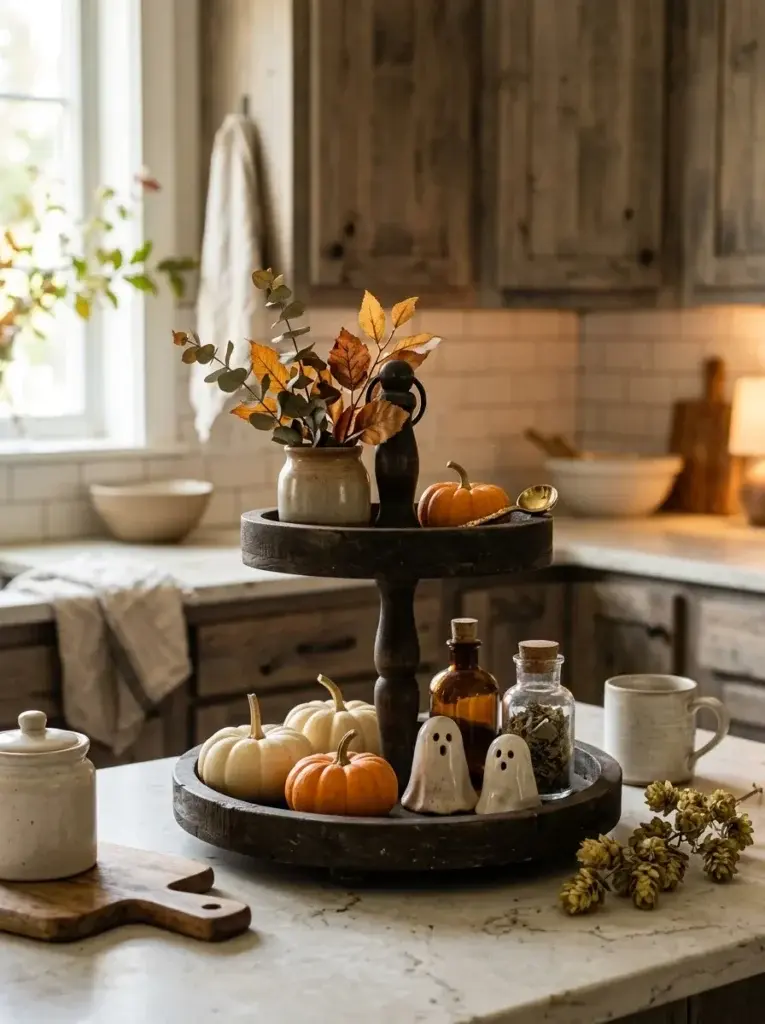
A tiered tray is useful for creating a compact Halloween scene because it brings several small decorations together in one place. Miniature pumpkins, ceramic ghosts, dark decorative bottles, and a little autumn foliage can give the display plenty of character without spreading across the whole counter.
Contrasting heights help the arrangement look interesting from different angles, while a limited palette of cream, black, and orange keeps it cohesive. This type of display can suit a farmhouse kitchen, a modern apartment, or a breakfast station that needs a seasonal accent rather than a complete makeover.
Begin with the largest items near the back of each tier, then fill the remaining spaces with smaller pieces. Keep the objects stable and avoid stacking decorations where they might fall when someone uses the counter. Leave enough room around the tray for everyday kitchen tasks, and do not position it beside burners or hot appliances. In a small space, use a two-tier tray or place a compact version on a sideboard.
You can create an attractive arrangement with inexpensive faux pumpkins, one or two handmade ghosts, and decorations you already own rather than buying an entirely new set.
10. Ground the Kitchen With a Washable Halloween Runner
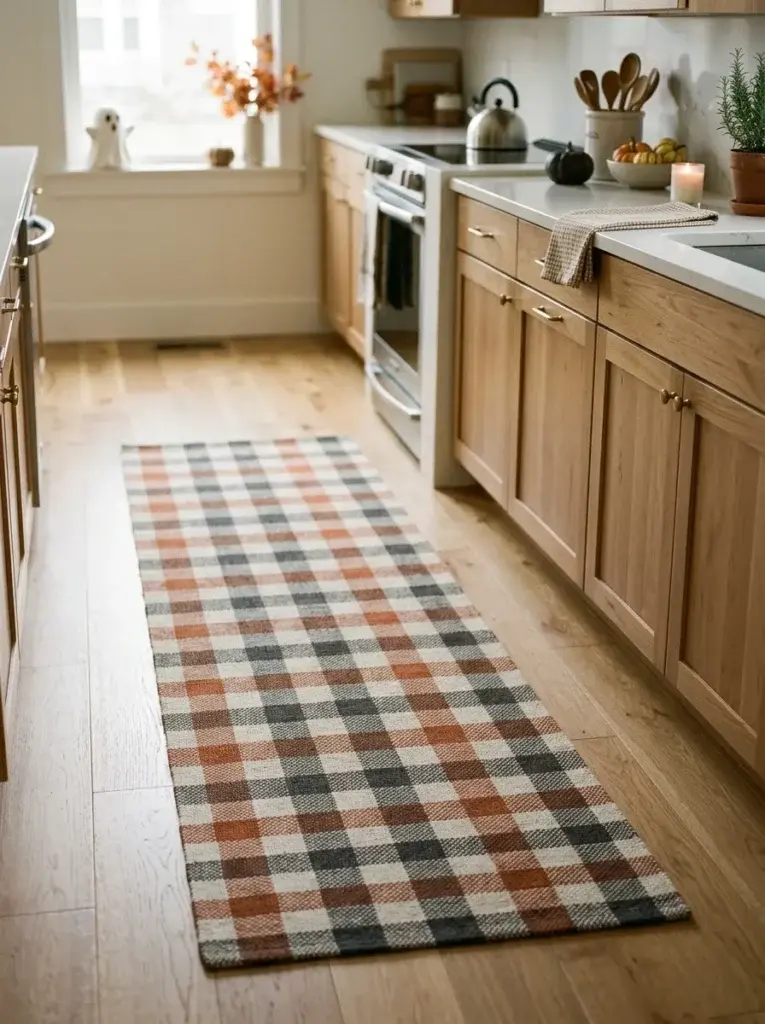
Floor textiles can make a seasonal kitchen feel finished, especially when the counters and shelves are decorated more subtly. A washable runner in muted orange, charcoal, cream, or black-and-white checks introduces a Halloween palette without adding more objects at eye level.
It can connect dark cabinet hardware with warm wooden surfaces or complement pumpkins displayed on a nearby shelf. For a playful look, choose a small graphic pattern; for a more understated room, select a neutral runner with a restrained seasonal motif. The result adds visual interest while keeping the rest of the kitchen relatively simple.
Choose a runner that fits the available floor area and does not interfere with cabinet doors, drawers, or appliance access. Use a suitable nonslip backing or rug pad when compatible with the flooring, and make sure the edges lie flat to reduce tripping risks. A washable option is practical near places where crumbs and spills are common, but check its care instructions before purchasing or using it.
In very small kitchens, a compact mat can provide the same seasonal touch without covering a walkway. Coordinate the rug with just one or two other colors already used in the room to avoid a busy appearance.
11. Style a Spooky-Cute Breakfast Nook Centerpiece
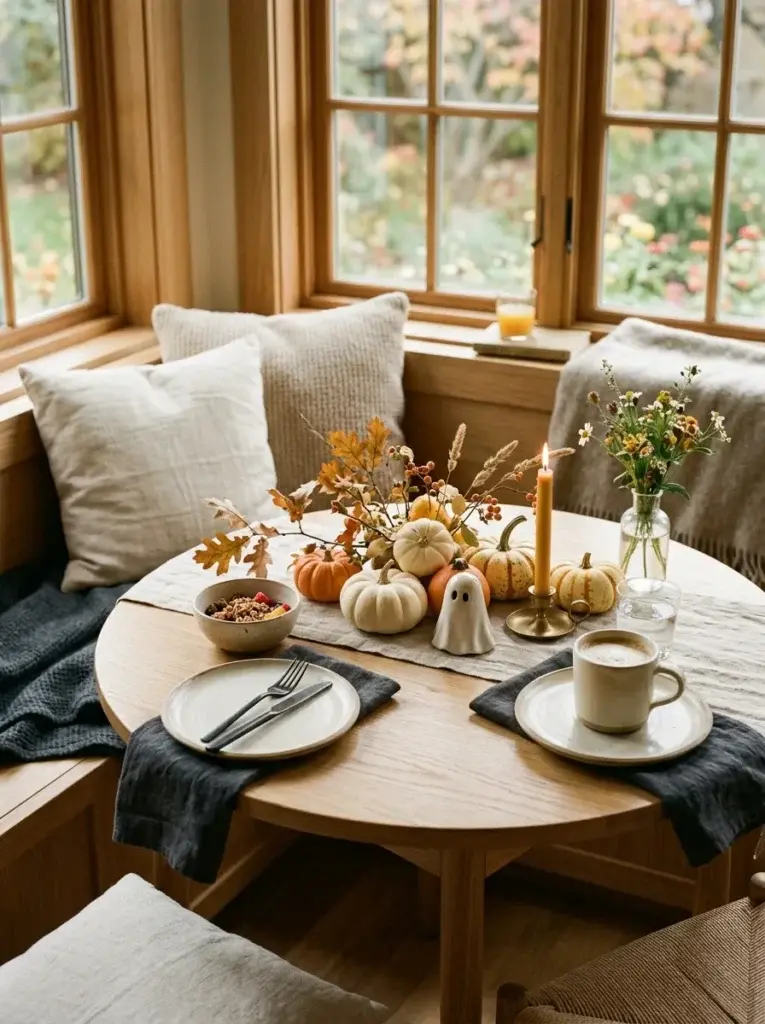
A breakfast nook can feel festive with a small centerpiece that combines seasonal details and everyday tableware. Picture a low arrangement of miniature pumpkins, a few sprigs of autumn foliage, cream plates, and dark napkins against a natural wood table.
One ceramic ghost or a small black vase adds a playful Halloween note without dominating the space. This style works for families who want a cheerful setting for morning coffee as well as for anyone planning a casual Halloween brunch. Keeping the decorations restrained makes the table feel inviting throughout the month rather than ready only for a single occasion.
Use a compact tray or shallow bowl to contain the centerpiece so it can be moved quickly when the table is needed. Keep the arrangement low enough that people can talk comfortably across it, and avoid sharp branches or unstable ornaments. Washable napkins and everyday plates make the setting practical, while one seasonal serving dish can add a little extra character.
For a small breakfast nook, a single pumpkin beside a folded dark napkin may be all you need. Keep decorations away from food-contact areas when meals are being prepared and served, and store delicate pieces safely between uses.
12. Display Felt Ghosts on a Bare Branch Arrangement
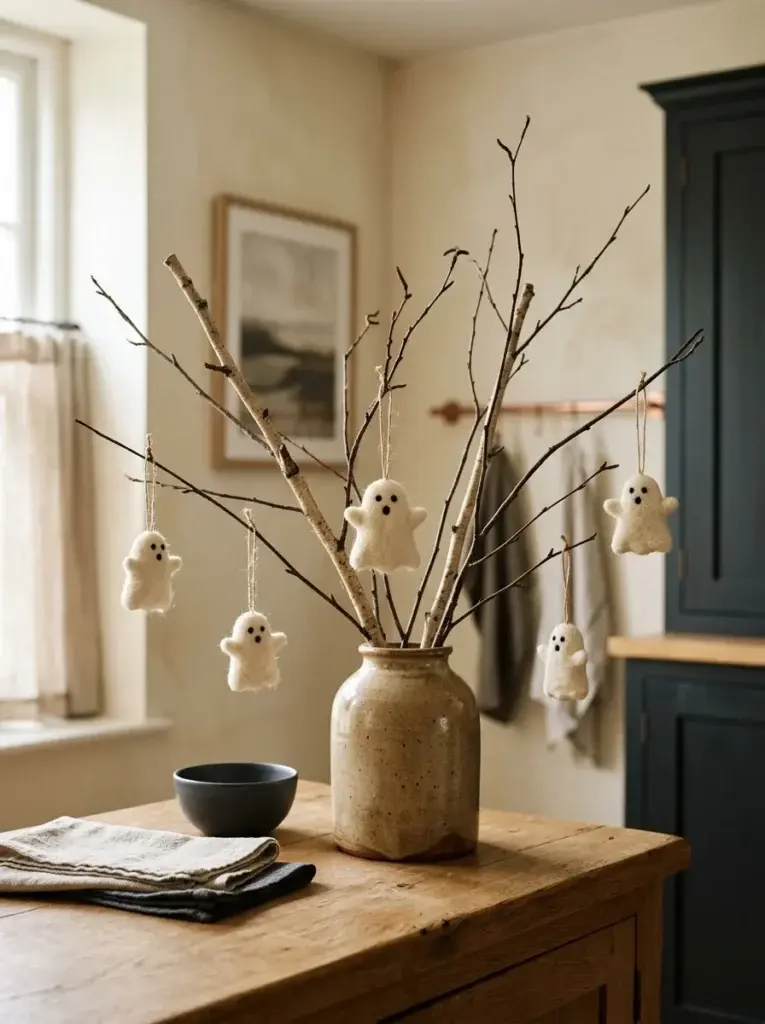
Bare branches decorated with little felt ghosts create a charming mix of natural texture and Halloween whimsy. The irregular shapes of the branches contrast with the soft fabric figures, while a simple ceramic or glass vase keeps the arrangement looking intentional.
This display works well in kitchens with neutral cabinets, open shelves, or a small sideboard. Choose a palette of cream, warm brown, and muted black for a gentle seasonal appearance, or add a little orange if you prefer something brighter. Because the decoration takes up vertical space, it can have an impact without requiring a large surface.
Select branches that fit securely inside a stable, suitably weighted vase, and trim them so they do not interfere with people passing through the kitchen. Hang lightweight felt ghosts with discreet thread, spreading them across several branch tips instead of clustering every figure together.
If you are collecting natural branches, make sure they are clean and completely suitable for indoor display before bringing them into the room. Place the vase away from cooktops, heaters, and other sources of heat. For a budget version, make simple ghosts from felt scraps and reuse the branches for future seasonal arrangements.
13. Add Removable Halloween Silhouettes to a Kitchen Window
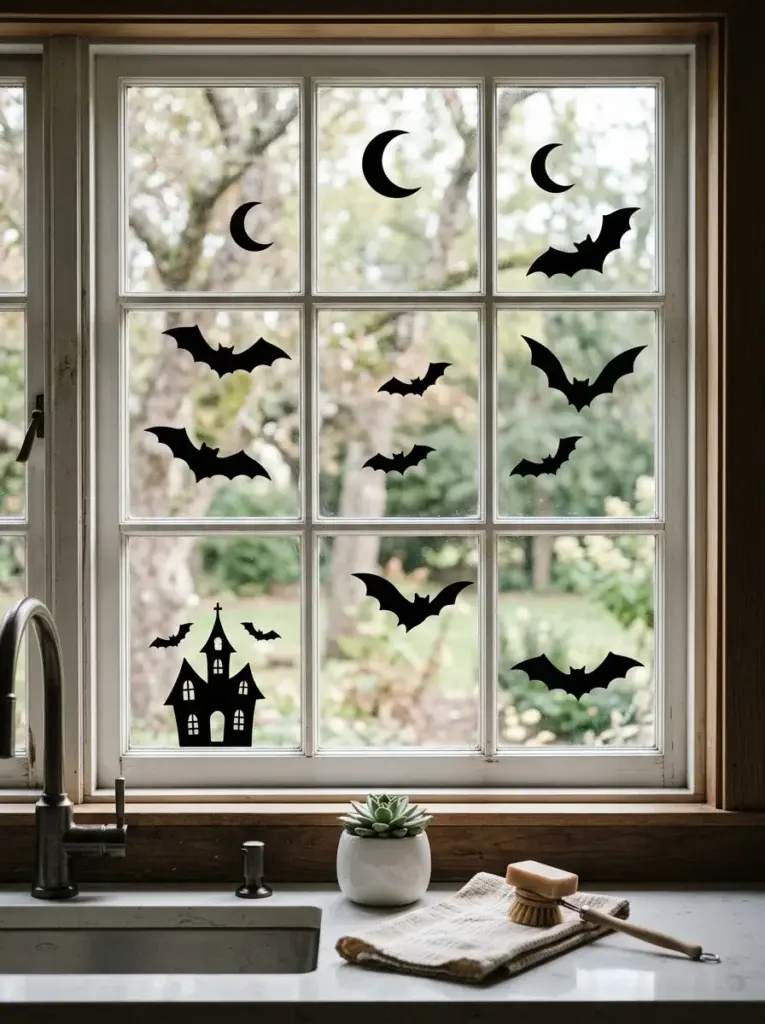
Kitchen windows can become a striking Halloween feature with silhouettes of bats, black cats, crescent moons, or tiny haunted houses. During the day, the shapes read as crisp decorative outlines against the glass; after sunset, interior lighting can make the scene more noticeable from outside.
A simple arrangement in black looks modern, while cream or muted orange accents can soften the overall effect. Window decorations are especially appealing when counters are already full or when you want to add seasonal character without changing your kitchen’s permanent finishes.
Choose window-safe removable decals or lightweight shapes secured with an appropriate method for the glass. Arrange the largest silhouettes first, then use smaller shapes to create movement without covering the entire window. Leave useful sightlines clear, especially above a sink or near a window you open regularly.
Clean the glass according to the surface-care instructions before applying decorations, and avoid materials that can damage finishes or interfere with window mechanisms. Renters should test an inconspicuous section when appropriate and remove the decorations according to product guidance. A few well-spaced shapes often create a cleaner effect than a crowded collage.
14. Finish With Coordinated Halloween Textiles and Tableware
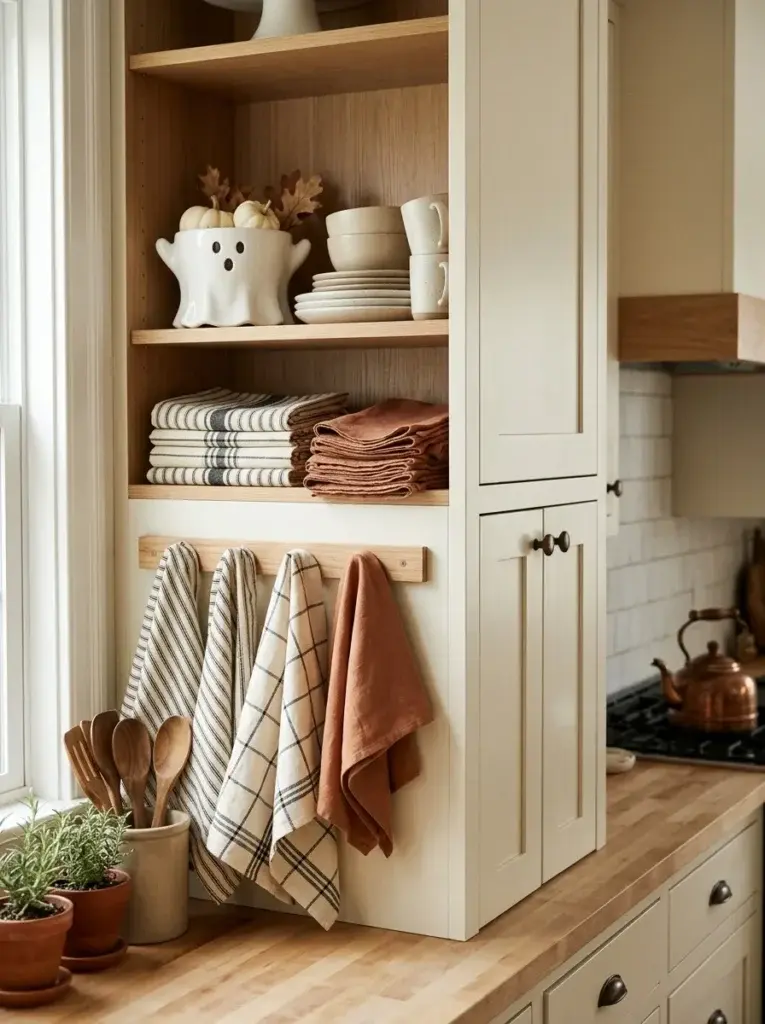
Coordinated textiles and tableware bring a kitchen’s Halloween theme together without requiring a complete decorating overhaul. Black-and-cream tea towels, muted orange napkins, a ghost-shaped serving bowl, or a pumpkin-patterned plate can repeat the colors used on shelves and countertops. The details work especially well when the rest of the kitchen is kept simple, allowing one playful pattern or ceramic piece to stand out.
This is an easy approach for anyone who prefers seasonal changes that are practical, easy to store, and flexible enough to work with different decorating styles from year to year.
Choose two or three colors and repeat them across a few useful items rather than introducing a different motif everywhere. Replace ordinary tea towels with seasonal versions, fold napkins beside the place settings, or display one themed serving bowl on an open shelf. Keep textiles away from flames, hot burners, and appliances that become hot during use.
Check washing and care instructions so towels and napkins remain suitable for their intended use. If your budget is limited, start with one tea towel and a set of reusable napkins. Those small changes can tie together the whole Halloween look without sacrificing everyday comfort.
Conclusion
A welcoming Halloween kitchen does not need to be crowded with decorations to feel festive. Choose a focal point that suits your space, whether that is a floating moon display, a shelf of cream pumpkins, a tiny coffee station, or a few removable window silhouettes. Then repeat a small palette of colors to make everything feel connected.
If you have a compact kitchen, prioritize vertical accents and useful seasonal accessories; if you have more room, add a tray or breakfast-table centerpiece. Save your favorite Halloween kitchen decor ideas to Pinterest so you can revisit them when it is time to decorate again.
Frequently Asked Questions
How can I decorate a small kitchen for Halloween?
Focus on vertical spaces and decorations that replace everyday accessories. Try removable bats on a suitable backsplash, a small mug display, seasonal tea towels, or a compact tiered tray. Keep the main preparation counter clear and choose a limited color palette.
What colors work best for Halloween kitchen decor?
Black and orange create a traditional Halloween look, while cream, charcoal, amber, and natural wood produce a softer autumn aesthetic. Choose two or three main colors and repeat them across your textiles, shelf accents, and tableware.
How can I decorate my kitchen for Halloween on a budget?
Reuse jars, everyday mugs, existing trays, and neutral dishes. Add paper bat silhouettes, handmade felt ghosts, or a few miniature pumpkins instead of buying a complete decoration set. Moving items you already own into a coordinated display can also make the room feel fresh.
How do I keep Halloween kitchen decorations practical?
Keep counters and food-preparation surfaces clear, position decorations away from heat and moisture, and avoid obstructing cabinets or appliances. Choose washable textiles, stable displays, and covered food-storage containers. Battery-operated LED decorations can provide a festive glow without an open flame.
What Halloween kitchen decorations are suitable for renters?
Removable decals, freestanding LED accents, seasonal textiles, countertop trays, and lightweight decorations on suitable tension rods can all be renter-friendly options. Check product instructions and surface compatibility before applying adhesives, and avoid anything that requires permanent changes to cabinets, walls, or ceilings.